


Draw a Halloween pumpkin with Pin felt-tip pens

When Halloween comes, we can hollow them and transform them into lanterns, use them as decoration but also draw them: pumpkins! Do you know how to draw them? We’ve created a step-by-step tutorial for you, accompanied by the Uni Pin tips: three simple tips and two brush tips. Their intense black ink promises you a successful Halloween! Here we go
Tutorial level: Beginner / Advanced / Expert
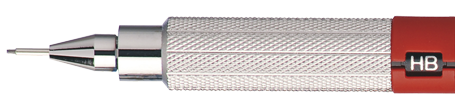
For this tutorial, you will need:
- A sheet of paper
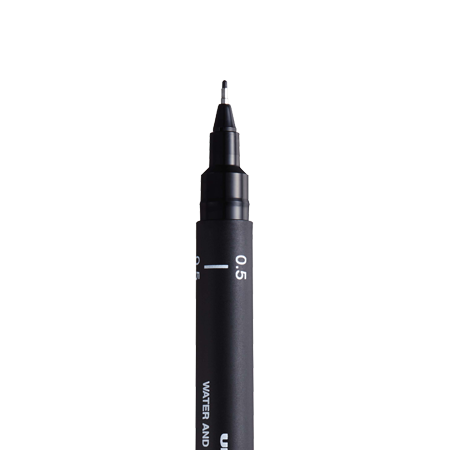
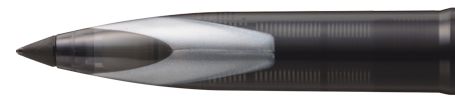
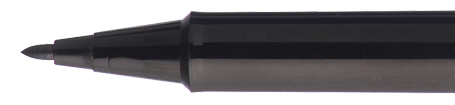
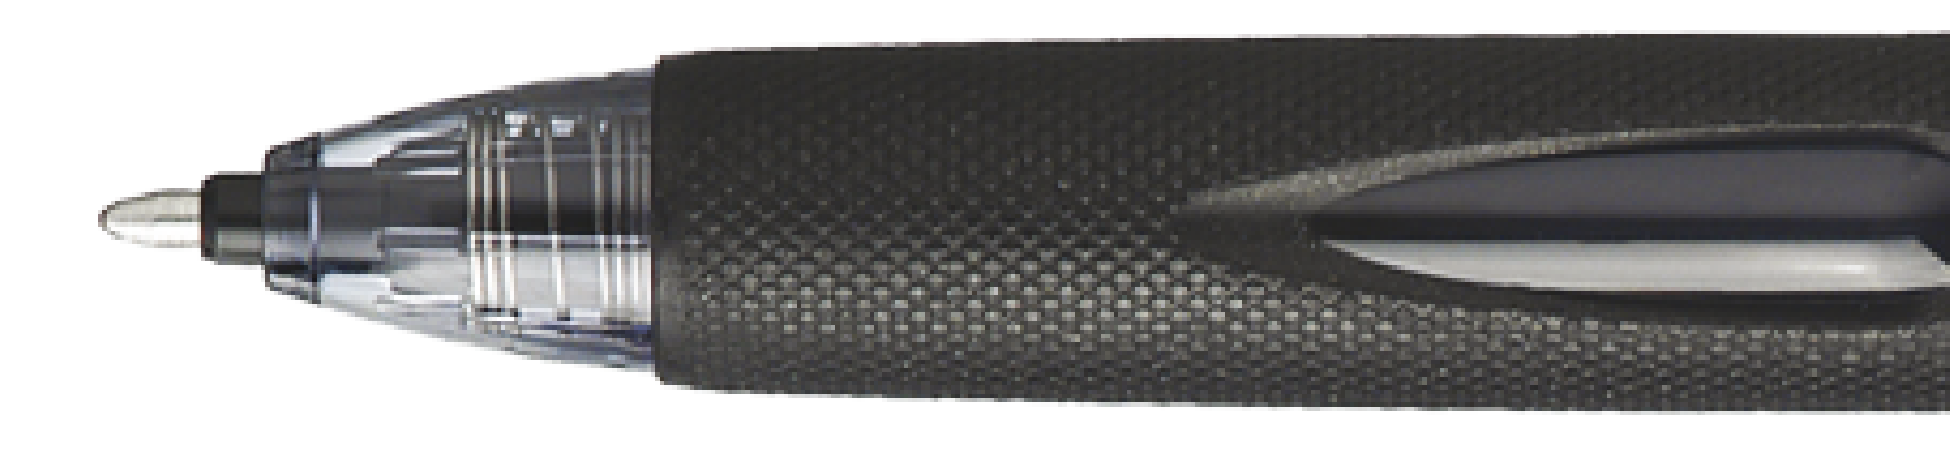
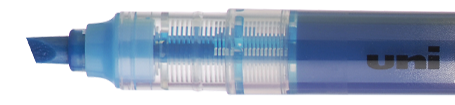
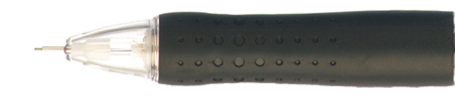
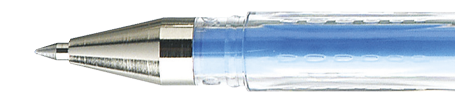
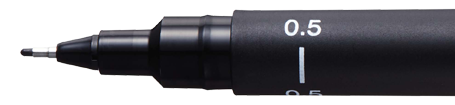
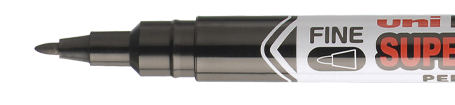
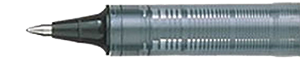
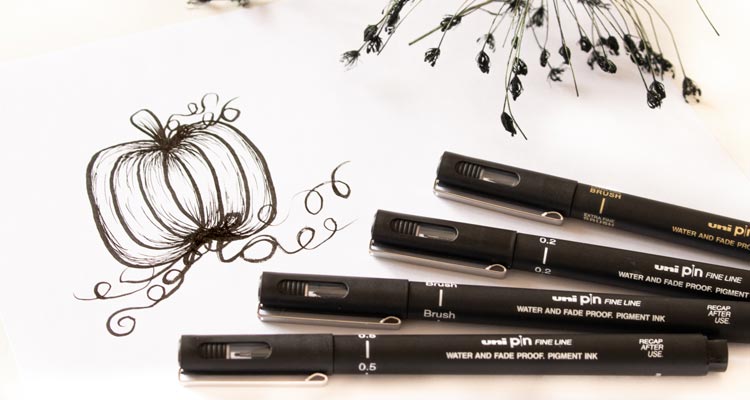
- Uni Pin felt-tip pens (brush, extra fine brush, 0.5mm and 0.22mm tips)
- Our pattern (downloadable pdf)
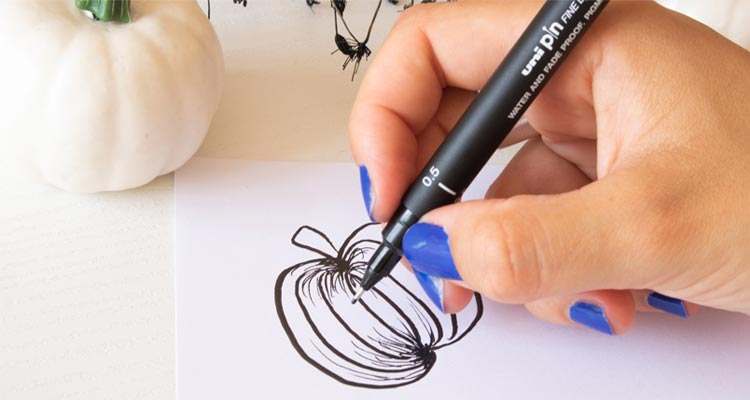
1st step: Beautiful segments!
With the Uni Pin felt-tip pens, drawing is always a pleasure. Their lines are clean and precise, their colours are dense and covering. For Halloween we obviously need black, black... and some more black!
With the help of the brush tip, start by drawing the segments of the pumpkin, rounded lines, bigger and bigger, moving out from the centre.
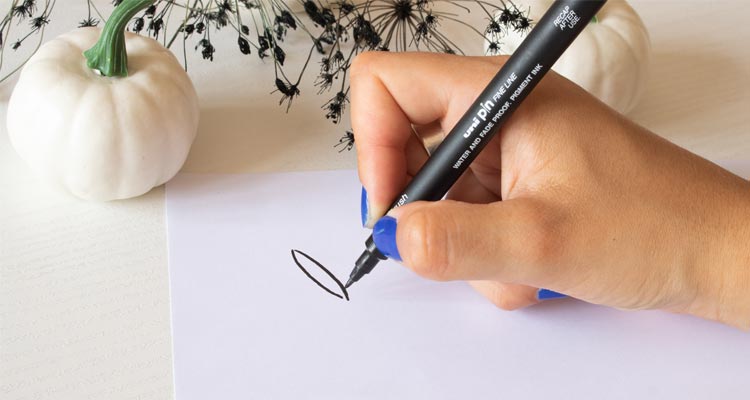
Then, add its stalk on top. This is called the peduncule!
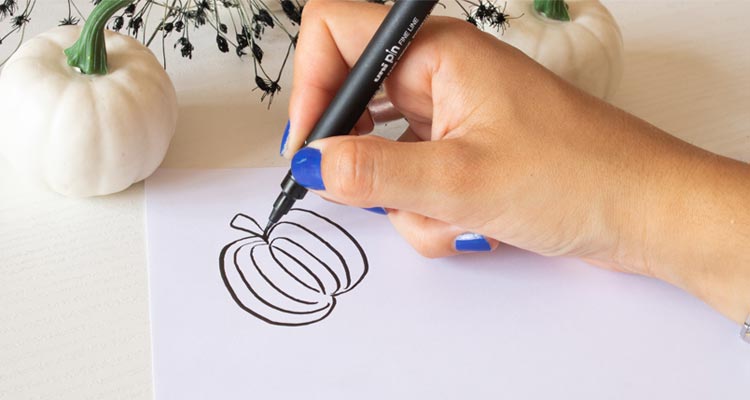
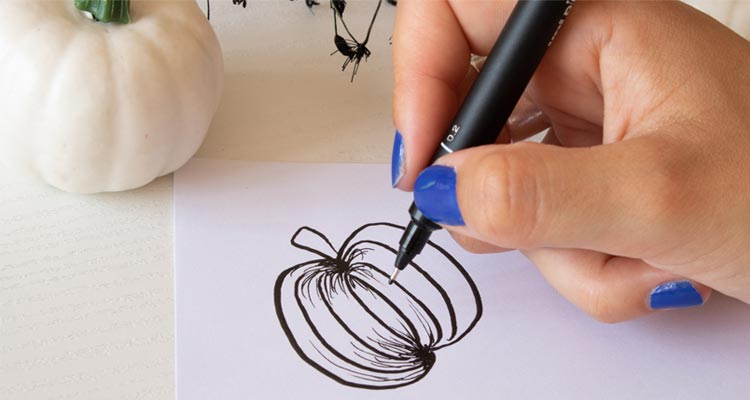
2nd step: Shading
Then, with the Uni Pin 0.5mm tip, add depth with shaded areas. To do this, draw fairly rough lines starting from each end of the pumpkin. This will also add movement!
 Then, using the 0.2mm tip, refine these shadows by drawing light lines on the rest of the fruit.
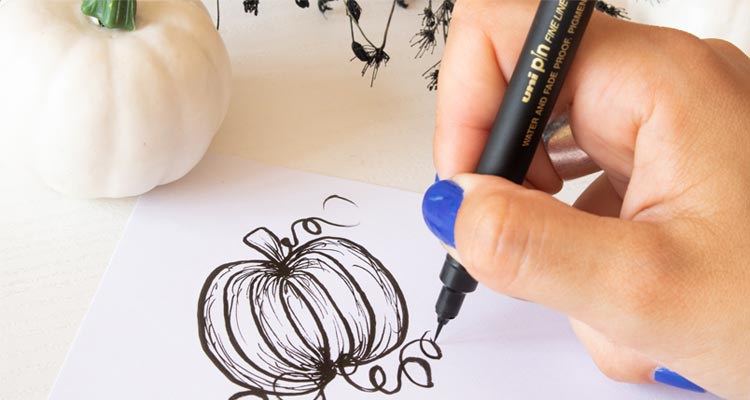
3rd step: A bit of detail for the finishing touches!
Finally, take your extra fine Uni Pin brush tip to finish the whole thing with plant details. This tip will surprise you with its flexibility which you will quickly get used to. Your pumpkin is coming to life!
4th step: A beautiful pumpkin!
Admire your work! There you have it, when we follow the steps, drawing a pumpkin is child’s play! You can now grow them on the pages of your notebooks, bullet journal, wherever you want!
Share the final result with us using the hashtag #uniballfrance and tag us on Instagram (@uniball_fr) we’d love to admire your work and share them in a story!